Setting up SonarQube locally
This is not a tutorial. These are study notes on understanding the tool and applying it to small and medium-sized projects in private repositories. Since I already had SonarQube installed on my machine, here is how I configured Docker.
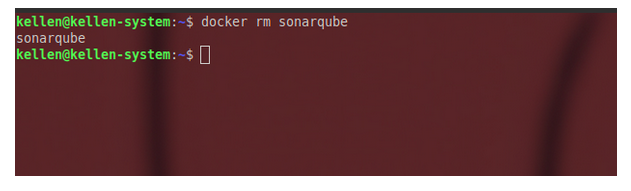
Option 1 — Remove the existing container
I had configured it for a code analysis study project as part of my postgraduate coursework. In this case I reconfigured it for another project; later I will set it up correctly again for the code analysis project.
docker rm sonarqube
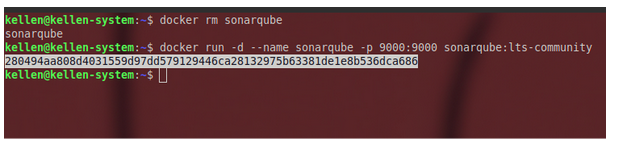
Now I can run the command to start a new container:
docker run -d --name sonarqube -p 9000:9000 sonarqube:lts-community
Yes, this is the free version, for learning before paying for something I do not yet know how to use.
Option 2 — Replace the container automatically
To force replacement, use --rm, which removes the container when stopped, or --replace with Podman. With Docker, we generally remove it manually as above.
Option 3 — Check the container status
docker start sonarqube
To stop it, use:
docker stop sonarqube
Run SonarQube locally
Now for the interesting part: configuring SonarQube locally and running a basic scan.
First, some initial configuration. I think this is worth adding to the development setup script.
1. Prerequisites
- Java 11 or later installed on the machine; SonarQube needs Java to run.
- Docker, optional but it really makes running SonarQube easier.
2. Download and run SonarQube
Download: SonarQube Community Edition
The first step is adjusting Docker, so make sure it is running correctly without problems.
docker run -d --name sonarqube -p 9000:9000 sonarqube:lts-community
Done! SonarQube is running locally.
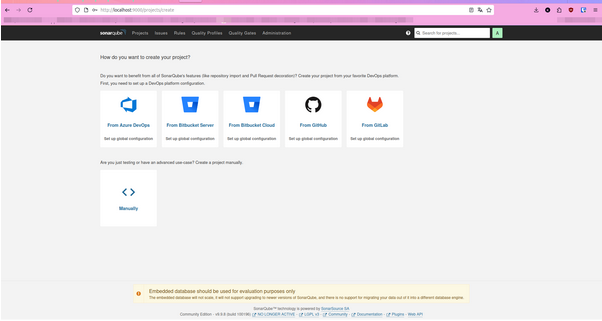
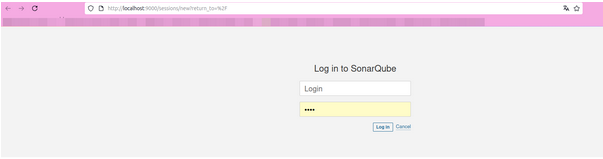
Adjust the password settings and continue to the page:
SonarQube configuration
- Open http://localhost:9000.
- Default login:
- Username: admin
- Password: admin
Now let’s configure a project scan.
Generate an authentication token
- In the top-right menu, click your user > My Account > Security.
- Under “Generate Tokens”, create a token, such as nome-projeto-token.
- Save the token; the scanner will use it.
Install SonarScanner
SonarScanner is the CLI that sends your code to SonarQube. Through the local terminal, we tell it to read the project and then obtain the analysis.
Install through NPM for Node projects
npm install -g sonarqube-scanner
For project-specific references, see SonarScanner documentation.
Configure SonarScanner in the project
Create a file called sonar-project.properties in the project root:
Example:
sonar.projectKey=nome-projeto
sonar.projectName=Nome-projeto
sonar.projectVersion=1.0
sonar.sources=.
sonar.language=js,php
sonar.sourceEncoding=UTF-8
sonar.host.url=http://localhost:9000
sonar.login=SEU_TOKEN_AQUI
Problems encountered
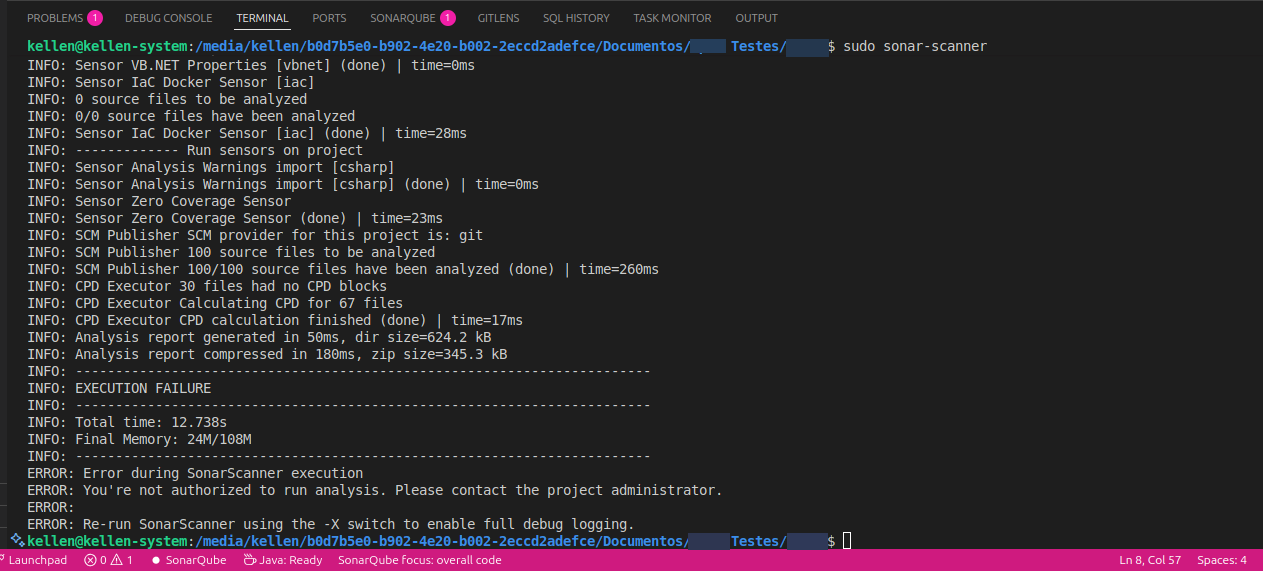
ERROR: You’re not authorized to run analysis. Please contact the project administrator.
What does this error mean?
SonarScanner is trying to send the analysis results to SonarQube, but the configured user or token does not have permission to perform this operation on the configured SonarQube project.
Great! Let’s see what I did wrong: the project name in sonar-project.properties did not match the one I configured in local SonarQube.
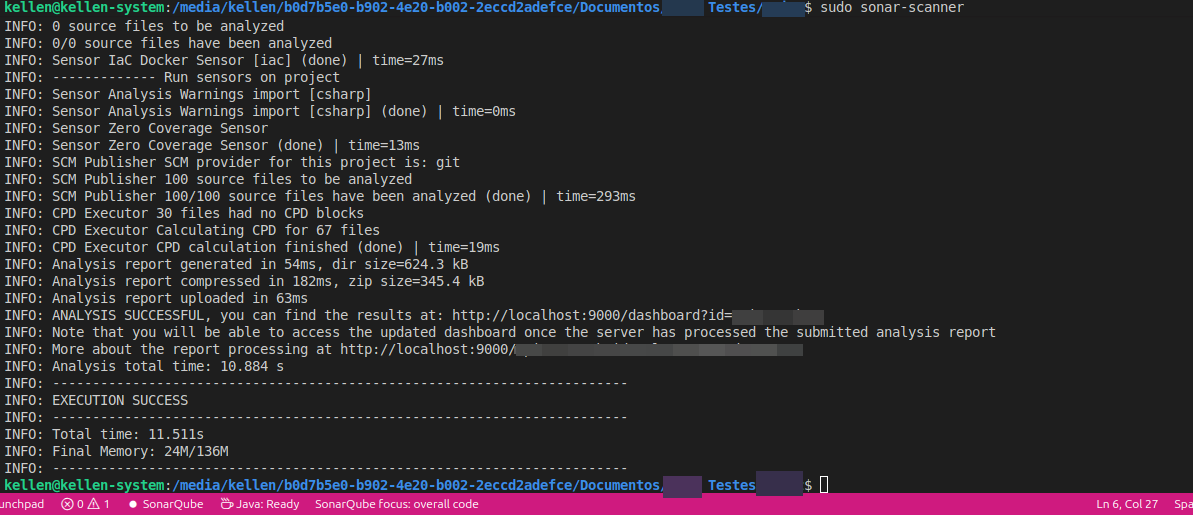
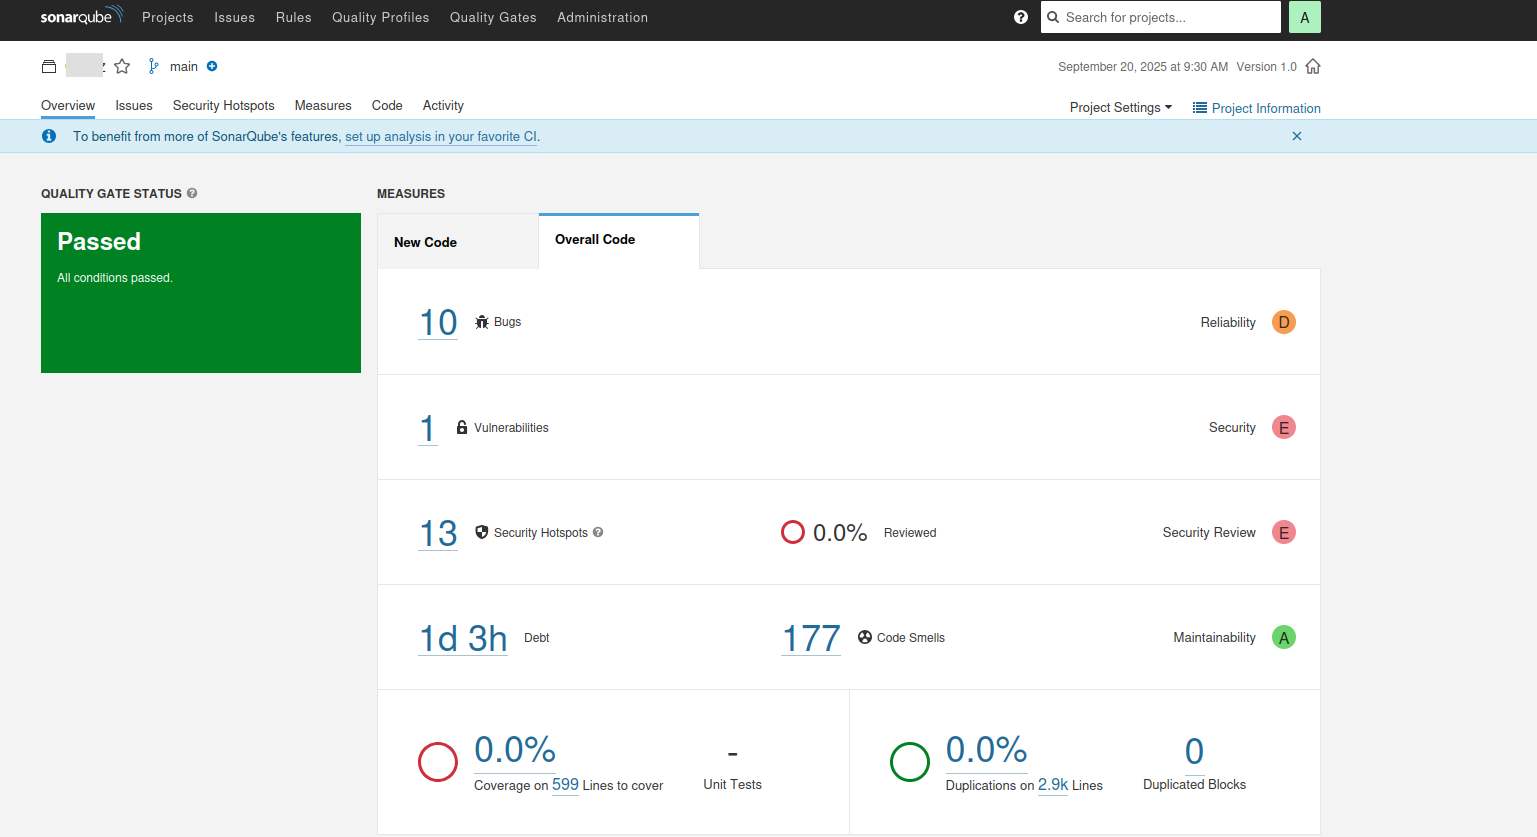
Now it is ready: running sonar-scanner scans the project and displays the results.